Welcome to our new category: Gardening! I have been doing my own gardening for years. There are numerous benefits to doing your own vegetable garden. Just to mention a few:
- Grow your own organic vegetables and fruits
- Home-grown produce is much more nutritious and tasty
- Save money on groceries
- Gardening is an enjoyable way to get some exercise
- It’s a great way to get outside and enjoy nature
- Get exposure to vitamin D from the sun, of which many Americans have a deficiency
- It boosts your mood and relieves stress
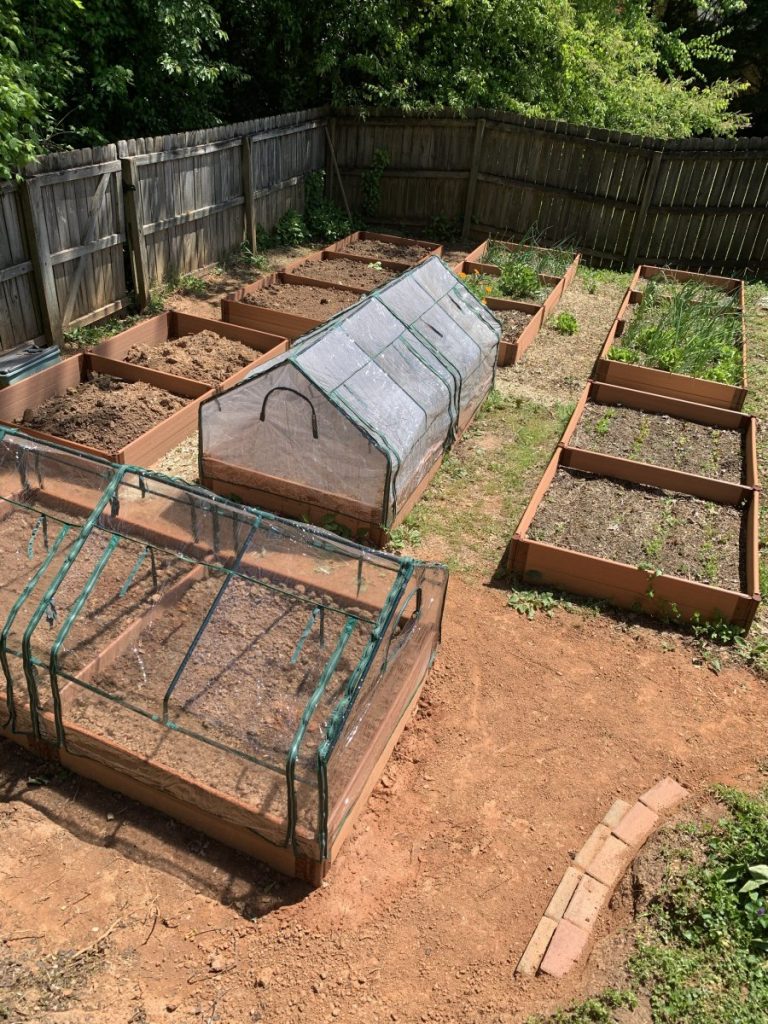
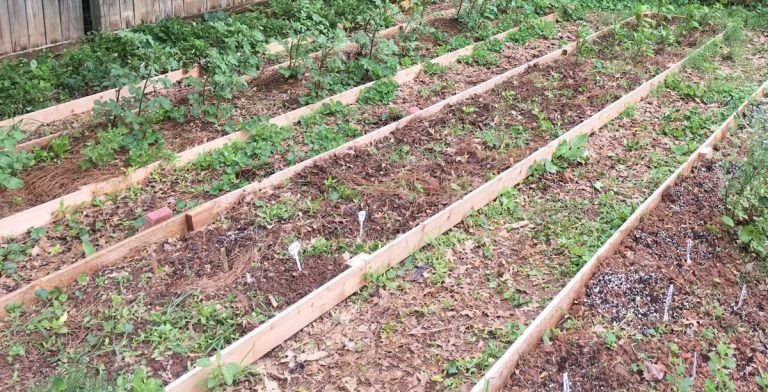
Today I will show you how my husband and I planned and built a raised bed garden on our sloped backyard. We researched garden beds that are flexible and sturdy and decided on Frame It All raised garden beds. We liked that it was highly configurable, was made from food grade safe composite boards, and wouldn’t rot. The only issue was with our yard. In all the images of their garden beds the ground is perfectly flat. Not so with our yard! The garden area drops approximately 2.5 feet over about 24 feet, and was also bumpy, which would mean there’s no way the raised beds could be level. Here is an image of our first attempt of a short cedar raised bed a few years back.
Planning Terraced Garden Beds on an Incline
We knew we had to somehow make the garden rows even. The best way to do this would be to make terraces for each of the rows. Between the rows the ground would drop, and the rows, which are 4 feet wide, would be level. There was one added benefit to having a slope. When you dig out the dirt for the lower level, this dirt can be used to partially or completely fill the raised bed, so you may not even have to buy soil. Excellent!

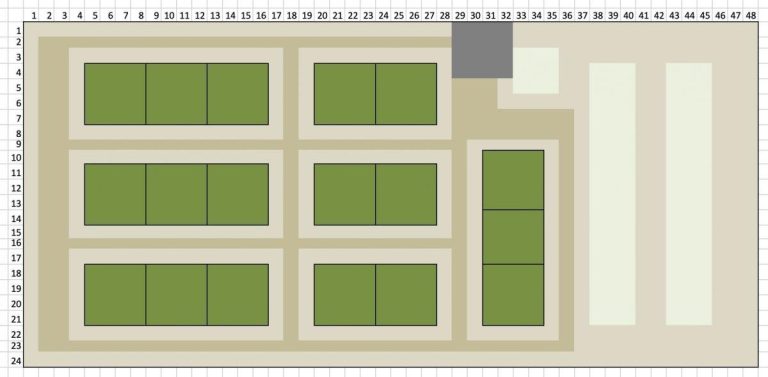
Next we took measurements of the entire area for planting and drew the layout. The raised beds are 4×4 for a single bed, 4×8 for double, and 4×12 for a triple raised bed garden. You can also configure however you like, but there are pre-configured beds with all parts included. We measured the area and drew this up in a spreadsheet. The numbering is the in feet, and the green areas are the actual raised beds. (See the result in the featured image at the beginning of the post) We decided to buy the one-inch thick boards instead of the two-inch boards, for more room to grow. The total number of individual squares was 18, which is a total of 288 square feet of planting space.
Leveling the Garden Bed Walls
I will show you how we set up the last row of our raised bed garden. It takes a good amount of moving soil, but the main thing is to removing enough for the outer wall, so it will be level. You will need a few tools, such as a shovel, a hoe, a sturdy rake, a hammer, and a level. Also, if you are using the Frame It All system, before you begin you should set up the board configuration.
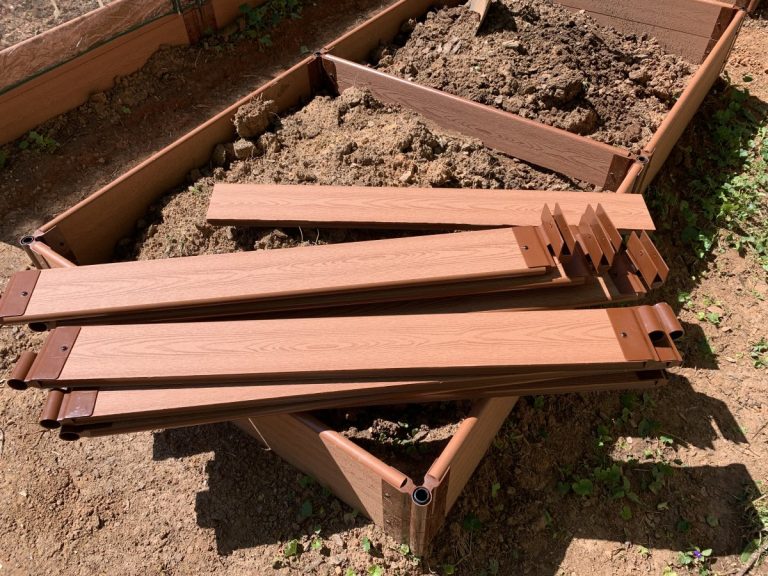
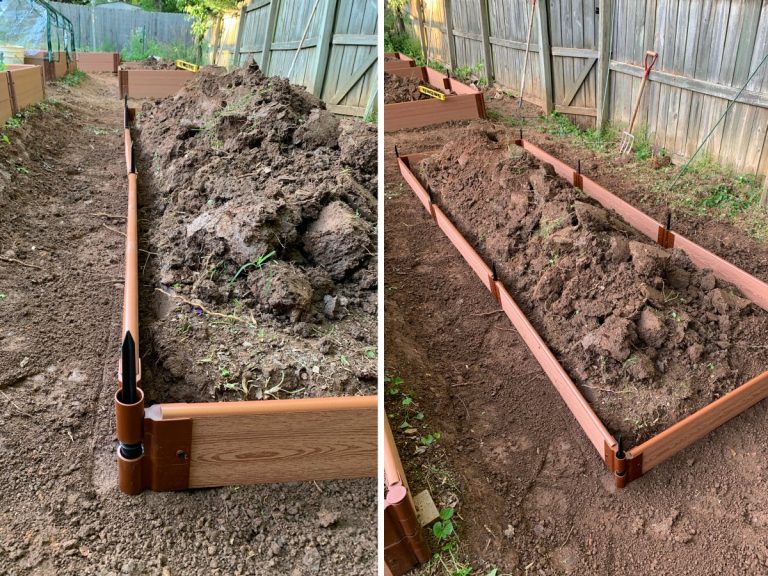
First you measure the approximate area of the garden bed, for example 4×12 feet as shown below, and mark with stakes. Dig out the uneven soil and pile in the middle of the area. (It would be best not to dig right after rain so that the ground is too wet, and not when it is too dry as well) At the lower side of the garden bed you may have to rake some soil there to make it higher. Use the other raised beds as a guide to line up the new walls. Once you have the area mostly level place the boards for the first garden bed level. Don’t hammer the stakes into the ground, but place them pointed up. You just want to set up the approximate area for the new bed. See the pictures of the result of this step.
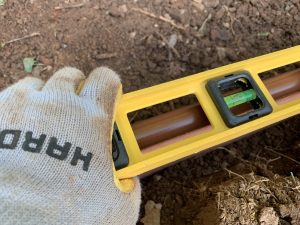
Next, using a level to make sure the boards are horizontal, go around the entire border and check for any boards that need an adjustment in height. If the height needs to go up, add amply soil under the boards and the surrounding ground. If the height needs to go down, you can use an instrument such as a hoe to cut out the ground under the boards to be lowered. You may have to go around a couple of times to get the first level of the bed right.
Don’t worry if the boards are not perfectly horizontal, because it doesn’t have to be. These raised beds are fairly sturdy and forgiving.
Next insert the stakes into the four corners as well as one side only. Do not stake down the other side because we need to be able to adjust the position later.
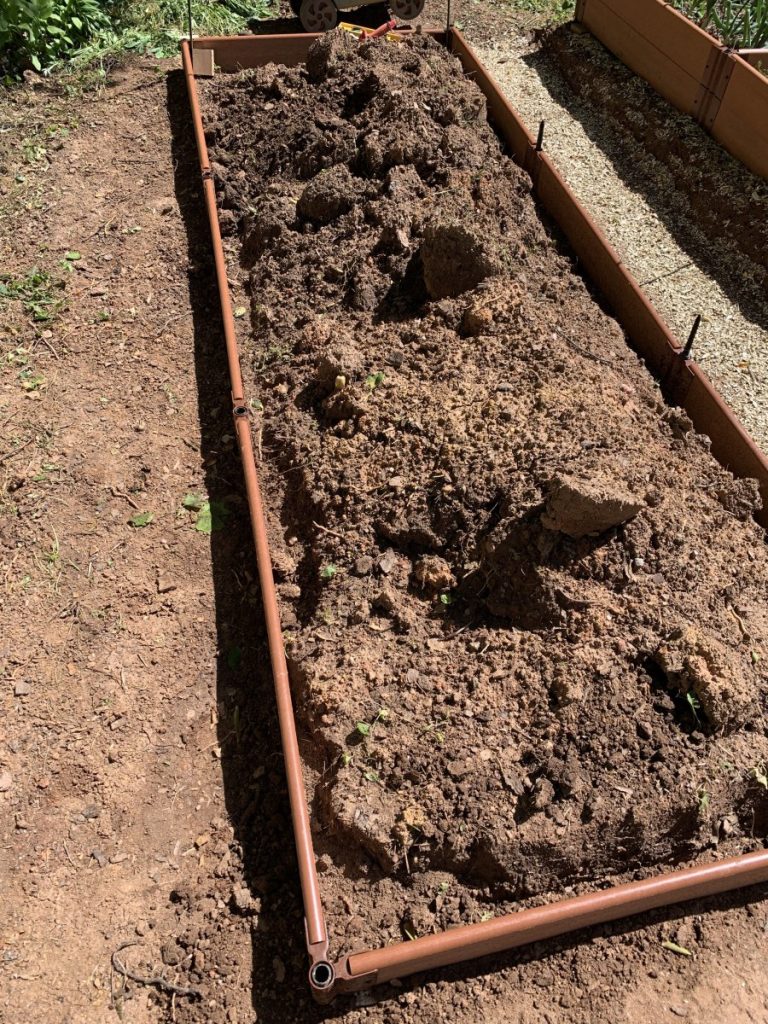
Some of the boards may still need to be leveled, which can easily be adjusted even with the stakes in. I use this instrument, called a ploskorez, which is somewhat like a hoe, to pull out the soil from under the boards. A regular garden hoe should work just fine. Note the difference after leveling the board.
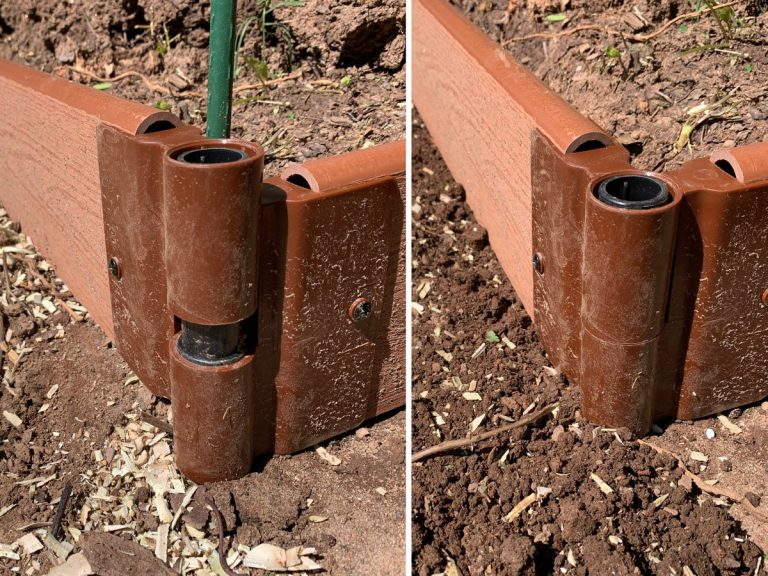
After all the first level boards have been leveled place the second level boards. Note that I didn’t stake down the two center stakes yet. we need to make sure these can move because the last two boards may not match up with the width in the middle.
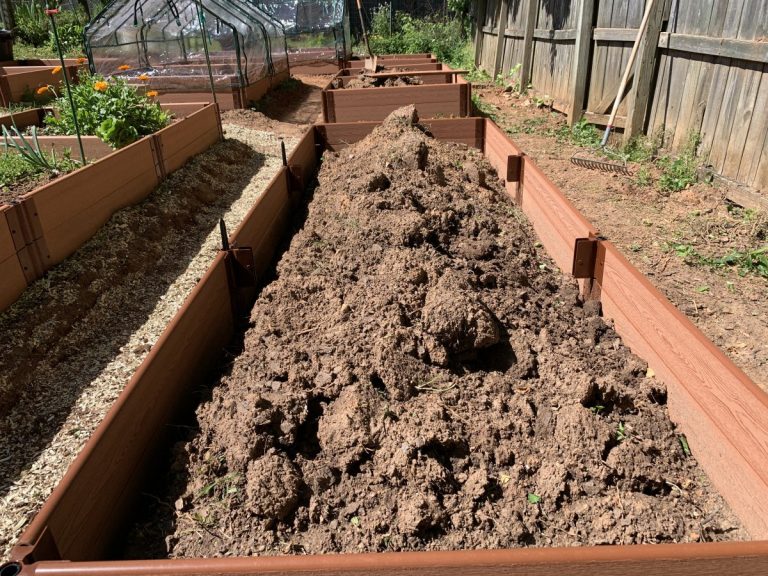
Now take the last two center boards and screw them in, while adjusting the side wall. Next, hammer down the last two stakes and smooth out the soil with a rake. Your two-level garden bed is now complete!
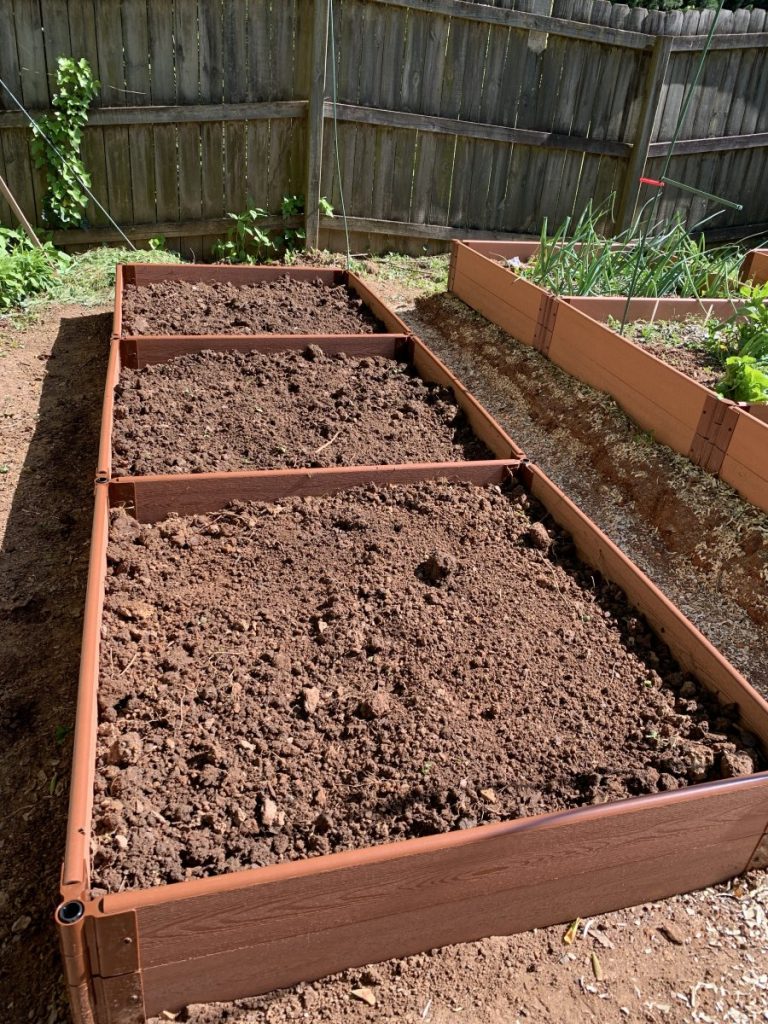
Final Touches to Your Raised Bed Garden
After all is finished you will be ready to plant your vegetables or fruit. You may notice that some walls are not exactly level or may drop with time. If that is the case, you may use a shovel to slightly raise that board enough to add soil under that section. If there is not enough soil inside the raised bed, simply add some that was dug up or add some organic soil of your choice.
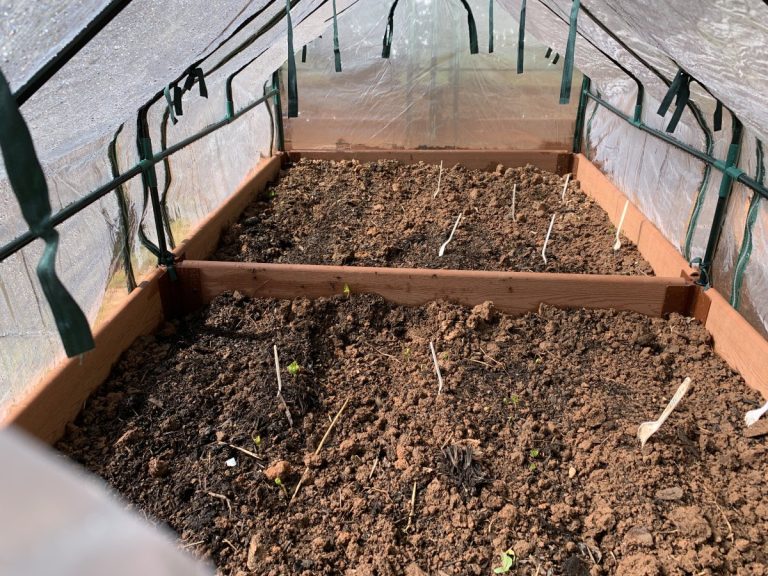
You can raise the height of the raised bed garden if you want by adding a third or even a fourth level. Also, you can add features like a veggie wall or this super-simple instant greenhouse. Happy gardening!
